
Premise
In the first part of my Demystifying Proxmox VE series, I built a 2-node Proxmox VE cluster in a nested lab using VMware Workstation, added a QDevice for quorum, and played with local ZFS replication and manual failover. That gave me a solid feel for how Proxmox handles clusters, storage replication, and VM mobility—even without shared storage.
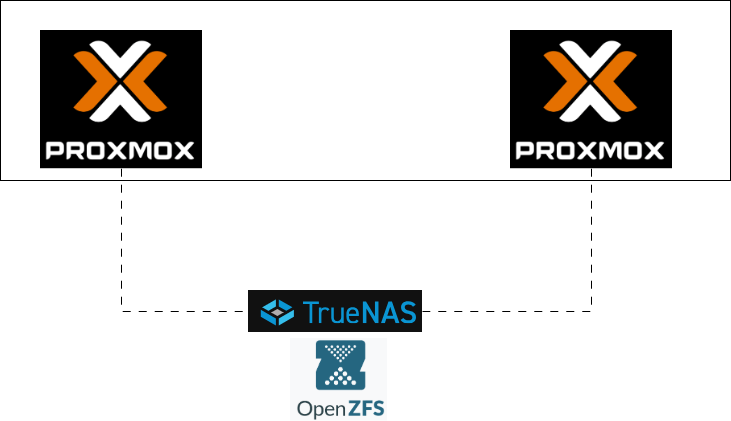
In this next chapter, I’m taking the lab one big step closer to a “real” production-style design: introducing shared ZFS storage via a dedicated TrueNAS VM. Instead of each node having its own local ZFS pool plus replication, both Proxmox nodes will now point to a single ZFS-backed NFS export living on a separate storage VM. That unlocks true Proxmox HA, clean migrations, and a much more realistic simulation of how you’d actually deploy Proxmox in the wild.
The best part? I’m still doing all of this inside VMware Workstation. No extra hardware required—just a bit of planning, a few virtual disks, and a TrueNAS VM acting as a poor man’s SAN.
Recap
Where We Left Off (Part 1)
- 2-node Proxmox VE cluster on VMware Workstation
- Local ZFS (vmdata + vmdata/vmstore) on each node
- QDevice for quorum
- ZFS replication + manual failover/failback
Why Shared Storage Matters (and Why Local ZFS Alone Isn’t Enough)
Local ZFS on each Proxmox node is fantastic for performance, data integrity, and simple replication workflows—but it doesn’t give you true high availability. With local-only ZFS, every VM disk lives on the node where it was created, meaning another node can only run that VM if the disk is manually migrated or replicated ahead of time. That works for backups and planned failovers, but not for seamless, automatic recovery.
Shared storage changes the entire equation. When all nodes can access the same VM disks simultaneously—over NFS, iSCSI, or a distributed filesystem like Ceph—Proxmox gains the ability to restart a VM instantly on another node when a failure occurs, without needing to copy or sync anything.
In other words: local ZFS gives you resilience, but shared storage gives you High Availability. This is why adding a shared ZFS-backed storage solution (like TrueNAS) is the key upgrade that unlocks real HA behavior in any Proxmox cluster.
You might ask “Why TrueNAS Instead of Other NAS OS/Software?”
TrueNAS is built directly on OpenZFS, giving it a native, fully integrated ZFS implementation—something other NAS OSes (OMV, UNRAID, etc.) simply cannot match.
Because ZFS is at the core of TrueNAS—not an add-on—it provides end-to-end checksumming, self-healing, native snapshots, compression, ARC caching, and rock-solid data integrity out of the box. Even more importantly for Proxmox users, ZFS exported over NFS is natively supported by Proxmox, making TrueNAS one of the most seamless and stable shared-storage backends for clustering and HA. Other NAS platforms can technically share storage, but they lack ZFS’s consistency guarantees and the tight integration Proxmox has with ZFS datasets.
TrueNAS Virtual Machine
Let’s download the official ISO for TrueNAS CE from here – https://www.truenas.com/download-truenas-community-edition/
Before we spin this VM up, let’s do some capacity planning first –
- On our ‘local ZFS pool’ test, we used 2 x 300GB to spin up and migrate 1 x Windows Test VM.
- TrueNAS website recommends ‘2 x identically sized disks’. This is mainly for mirroring.
- For this ‘shared ZFS pool’ test, I will go with 2 x 500GB disks for ZFS pool. The main reasons for this size bump are –
- ZFS snapshots duplicate metadata.
- Replication ‘temporarily’ doubles usage.
- Probability of spinning up additional VMs.
- HA failover may require full VM image transfers.
- ZFS wants 20% free space to stay healthy.
- For this ‘shared ZFS pool’ test, I will go with 2 x 500GB disks for ZFS pool. The main reasons for this size bump are –
Build Plan
- Name – trunas01
- FQDN – trunas01.minerva.lan
- IP Address – 10.0.26.15/25
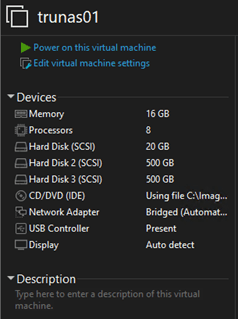
- RAM – 16GB
- vCPU – 4
- Disks – 3 (Total – 1020GB)
- Disk 0 (Boot Disk) – 20GB
- Disk 1 (ZFS Mirror Member#1) – 500GB
- Disk 2 (ZFS Mirror Member#2) – 500GB
VM Creation
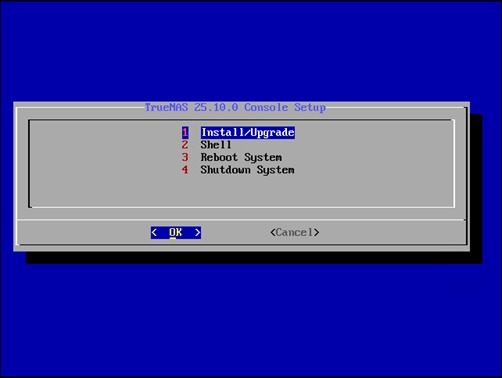
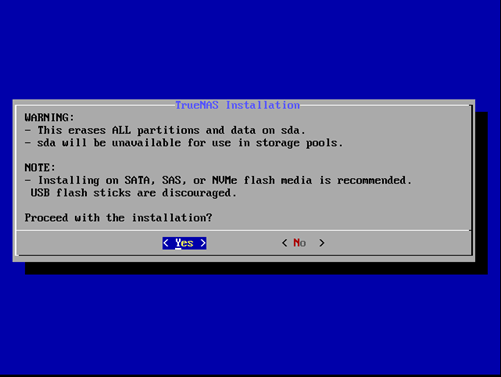
Let’s fire it up.
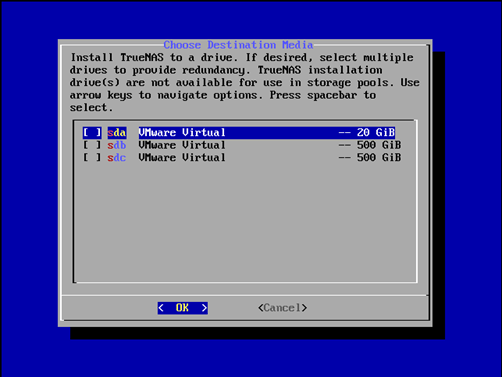
I will choose my 20GB boot disk for TrueNAS install location.
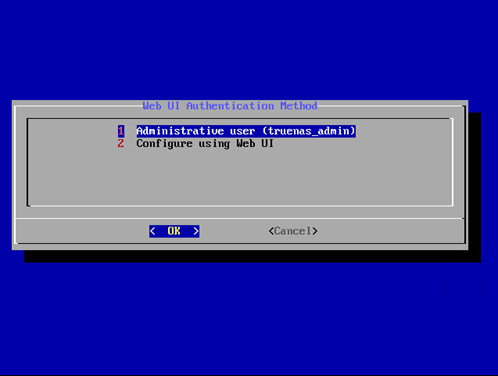
Choosing truenas_admin as administrative user.
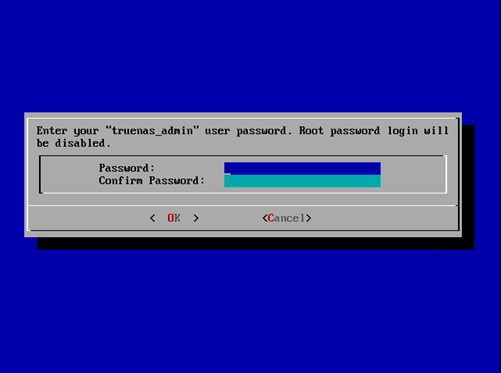
Enter a secure password for the admin user – truenas_admin
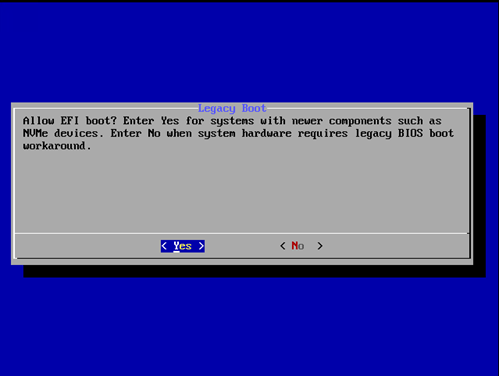
Select ‘Yes’ for EFI Boot.
Let’s reboot it.

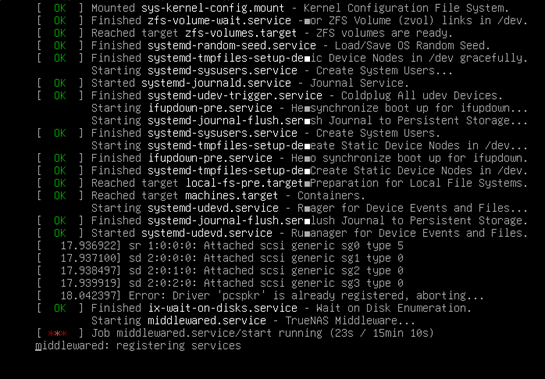
Post reboot, the TrueNAS CE machine will start up by kicking off all underlying services and dependencies.
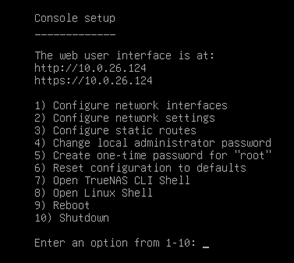
We will set the static IP Address to this VM later through GUI. For now, let’s find out our DHCP-attained IP so that we can login.
Let’s browse to the IP Address and enter the assigned administrator credentials.
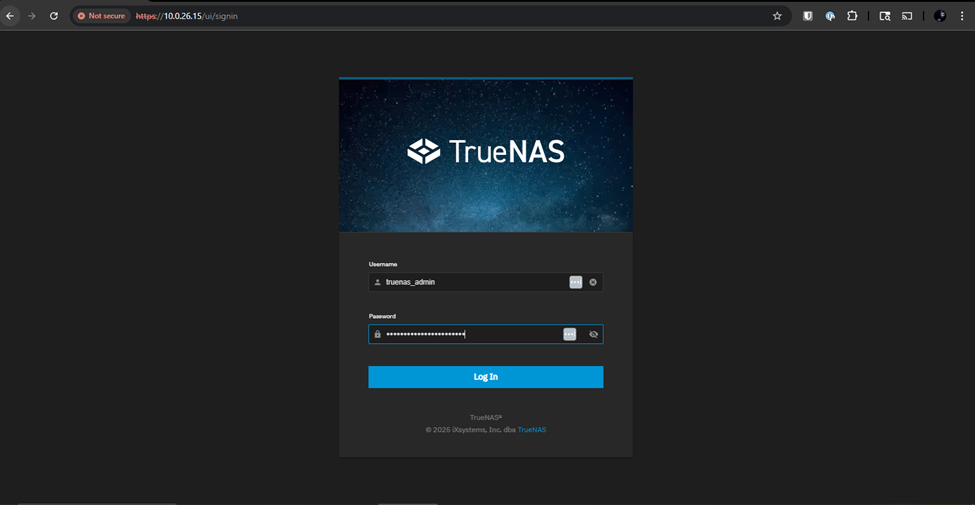
And, we are in!
Static IP Address Assignment
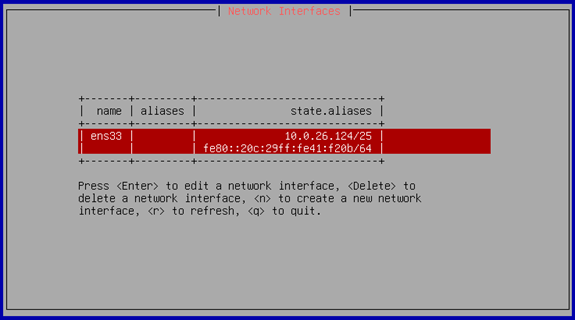
Navigate to System → Network → Interfaces
Click on the 3 vertical dots next to the designated NIC and click on ‘Edit’.
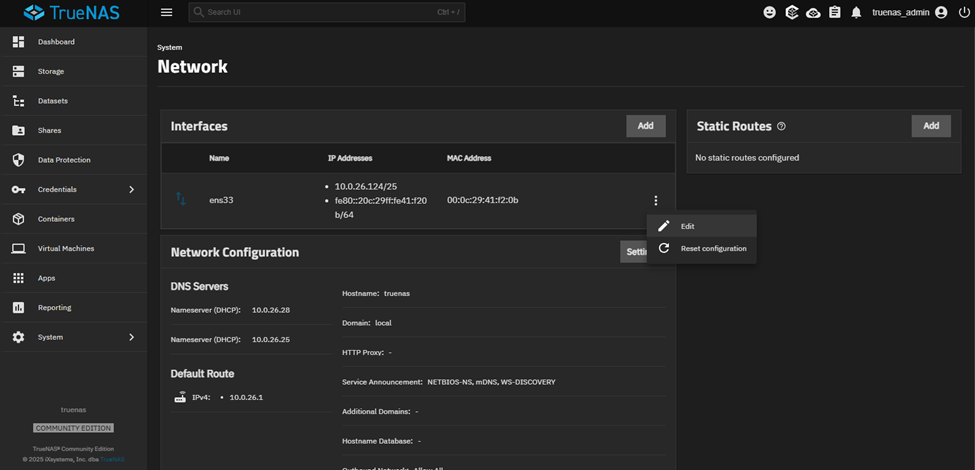
Click on radio button for ‘Static IP Address’ and then click on ‘Add’. From there, fill in the desired static IP Address and CIDR for the network. Also, confirm the new gateway & DNS settings and if updated/verified click ‘Register’.
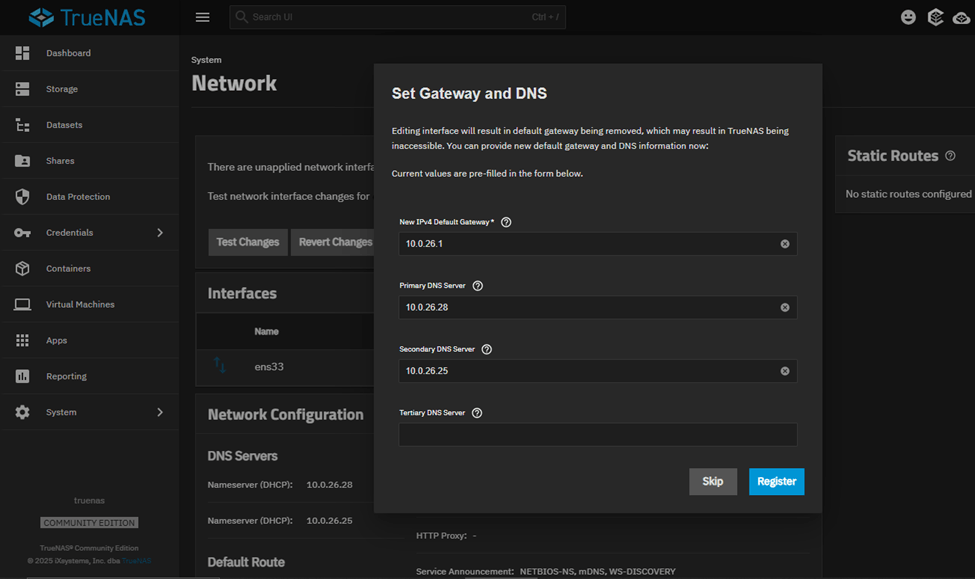
Since ens33 is the only vNIC associated with my machine, TrueNAS is cautious about these kind of disruptive changes by giving us an option to
Test → Verify → Final Save.
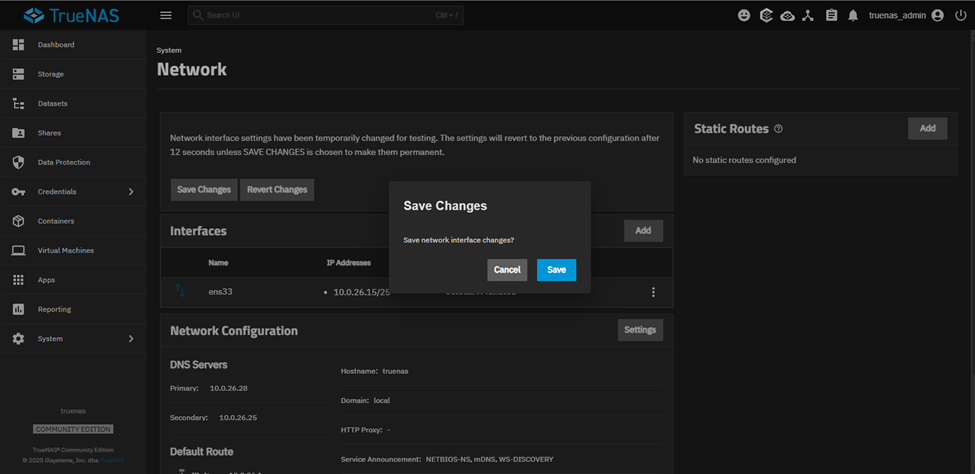
Click on ‘Register’ and the system will only allow you to perform ‘Test Changes’. The machine gives us 60sec to try and login with the new IP Address, login and then once logged in, save the new settings.
Once logged in through the new IP, you will be presented with ‘Save Changes’ & ‘Revert Changes’. Let’s save it.
Storage Configuration
Now that we have a static IP Address assigned to the TrueNAS VM, let’s start our storage side of the configurations.
First things first, let’s check if the 2 x 500GB disks are presented to us to work with or not.
Navigate to Storage → Disks
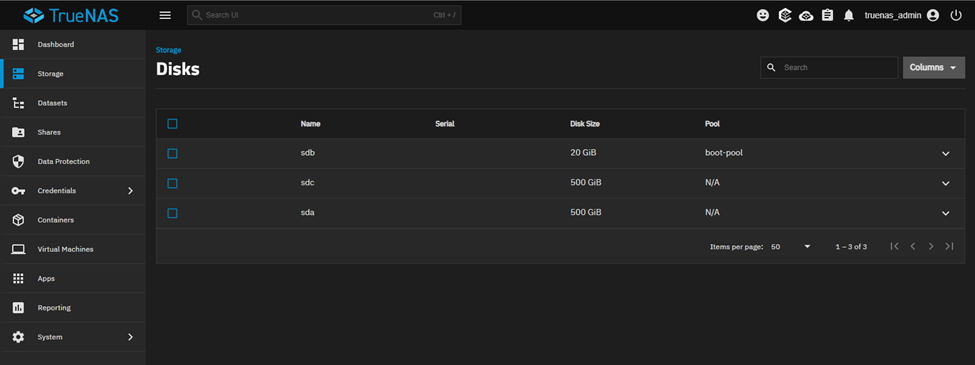
They are there.
ZFS Pool Creation
Navigate to Storage → Create Pool
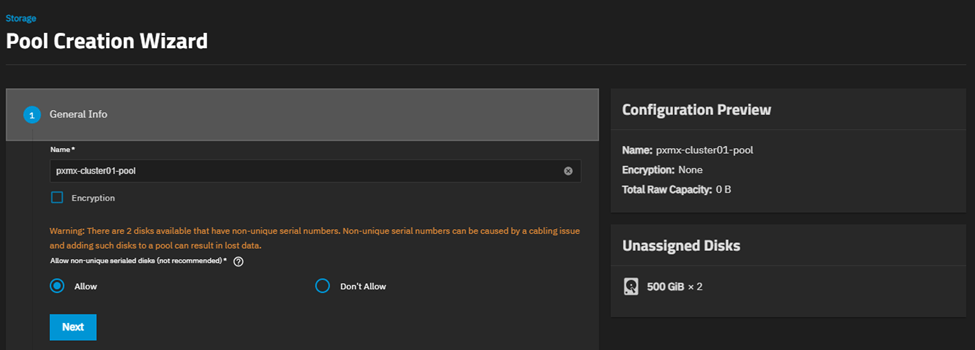
I want these two virtual disks to mirror (RAID1) each other.
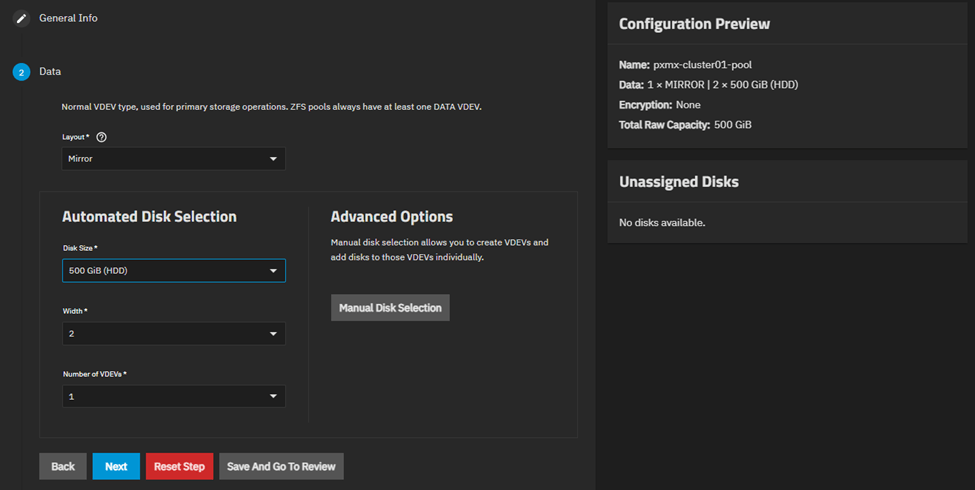
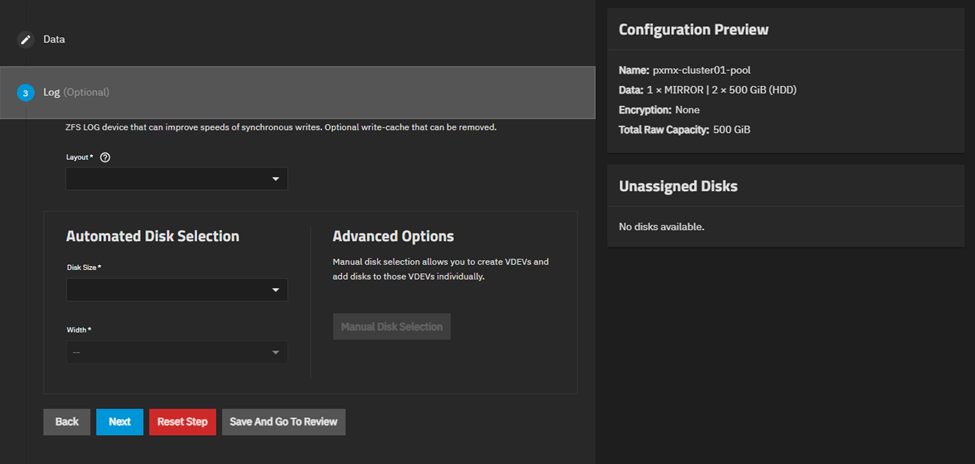
I am going to leave the LOG, CACHE, METADATA & DEDUP sections as blank since this is optional.
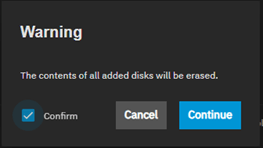
Let’s create the pool.
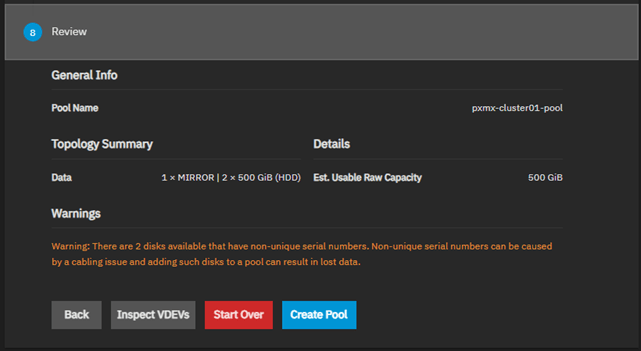
Once created, you will be presented with the storage dashboard showing the newly created VDEV.

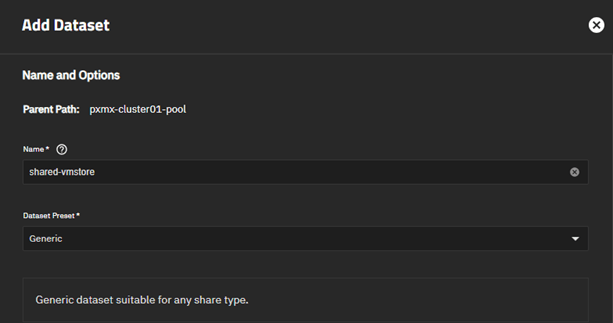
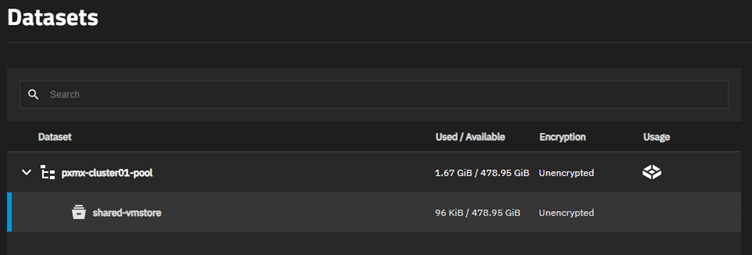
Dataset Creation
Navigate to Storage → Datasets
This will show us the root dataset.
DO NOT USE THIS DATASET for SHARING VM STORAGE!!
Let’s create a new one.
Important items to set –
- Share Type – Generic
- Record Size – 128k
- Case Sensitivity – Sensitive
- Compression Level – LZ4
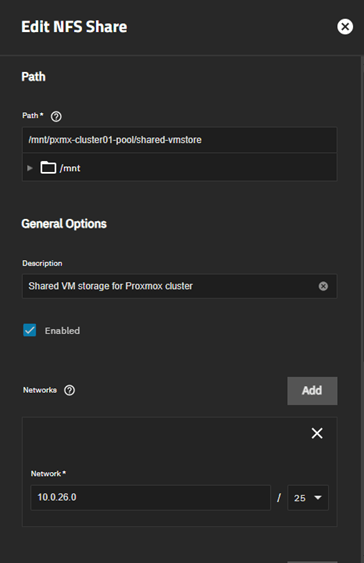
NFS Share Creation
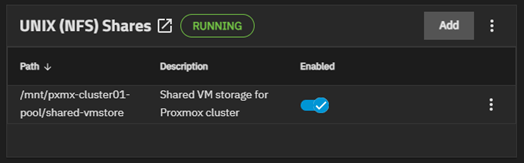
Navigate to Shares → Unix (NFS) Shares → Add

Our share is ready.
Proxmox Configuration
Adding NFS Share to Proxmox
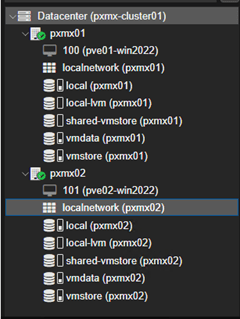
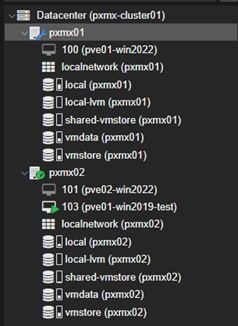
Navigate to Datacenter → Storage → Add → NFS

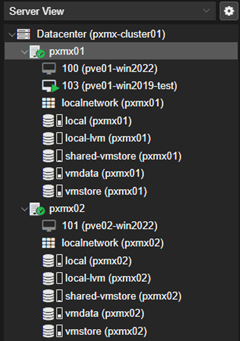
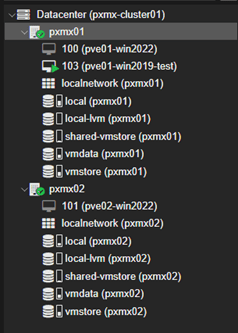
This populates the ‘shared-vmstore’ NFS share to both nodes which can be seen on the left pane.
Test VM Spin-up
Let’s spin-up a new test VM utilizing the shared-vmstore NFS share.
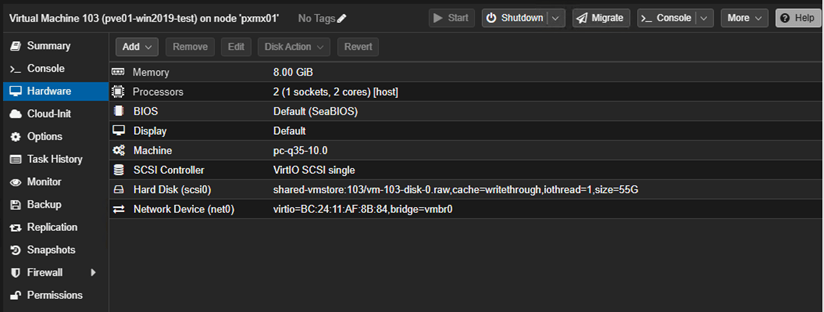
Let’s fire-up the VM.
High-Availability Configuration
Now we tell the cluster to keep this VM alive anywhere.
Highlight the test VM from the left pane and navigate to HA → Enable
Choose:
- Max Restart: 3
- Max Relocate: 1
- Group: default
This makes Proxmox automatically move the VM if one node fails.

Failover Test – Maintenance Mode way
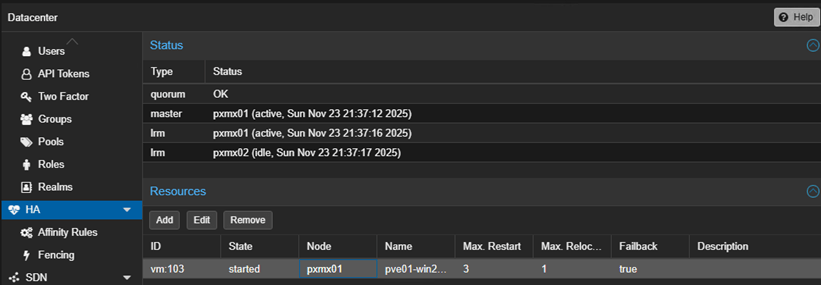
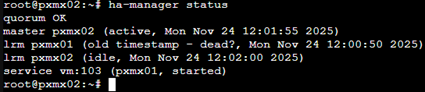
My plan is to ‘simulate’ node failure by putting pxmx01 in maintenance mode.
CRM notices pxmx01 is in maintenance and it will trigger the ‘stop’ of VM103’ and move it to pxmx02.
From pxmx01 shell, let’s put the node in maintenance mode.
ha-manager crm-command node-maintenance enable pxmx01
And boom!
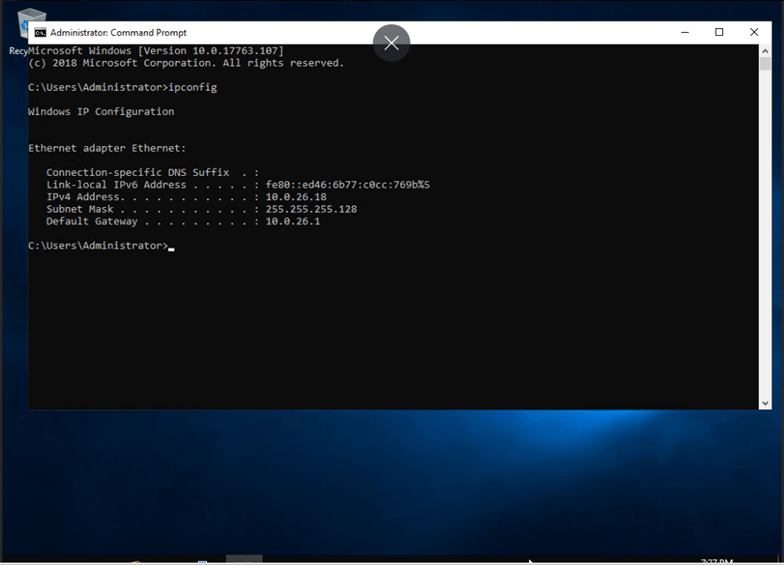
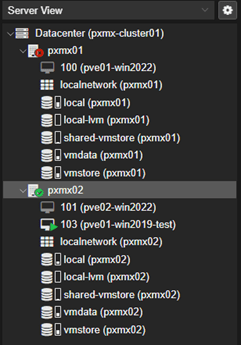
VM103 moved successfully to pxmx02.
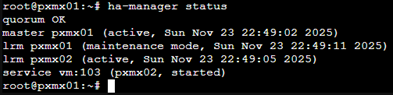
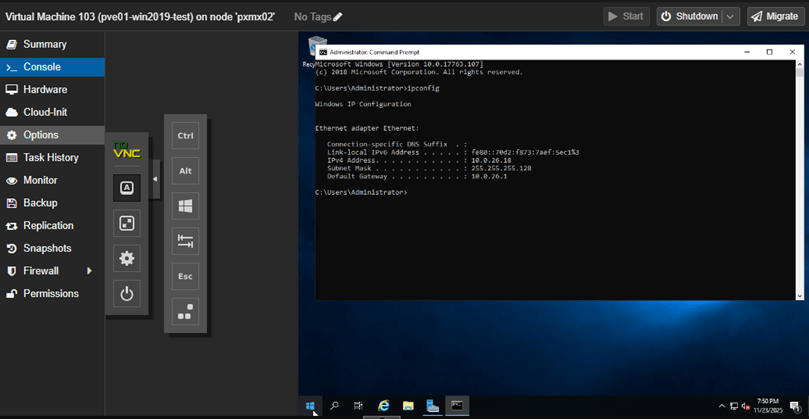
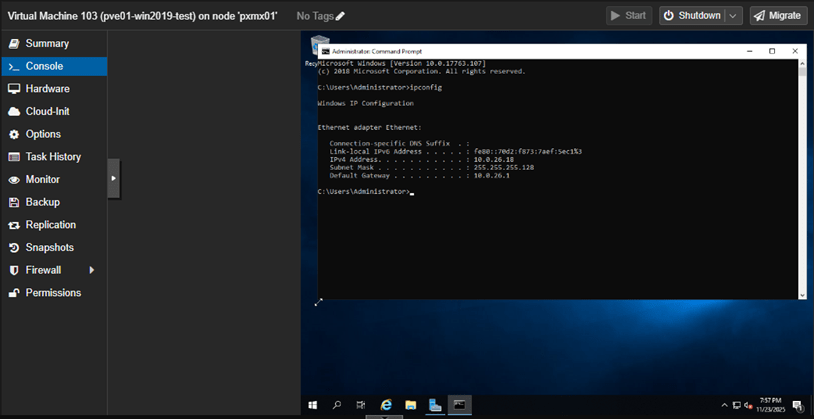
The IP Address is retained as-is post migration as well.
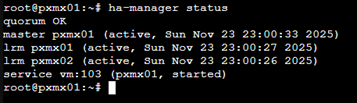
Failback Test – Maintenance Mode way
Now that VM103 is running successfully on pxmx02, let’s test the failback.
To trigger this, we need to take pxmx01 off maintenance.
ha-manager crm-command node-maintenance disable pxmx01
And there it is! Our target VM moved back to its original location.
The failback can also be controlled by unchecking the ‘failback’ box while setting up HA for the VM.
Failover Test – Node Failure
Let’s try another method of triggering a failover. To achieve this, I will issue the command –
echo c > /proc/sysrq-trigger
This triggers an immediate kernel failure of the node (not graceful shutdown). In Proxmox, triggering of graceful shutdown is considered as ‘intentional’ resulting in non-migration of the VMs running on the node.
Current state
Once the kernel failure is triggered

This failover usually takes 45-90sec with default settings and this is intentional to prevent false-positives & avoid split-brain within the cluster.
So, these two test cases successfully demonstrated the creation, operation, failover and failback of workloads stored in our ZFS backed shared storage pool hosted through a NAS.
Please keep an eye out for my future posts on this topic as I unravel more layers of this system.

Leave a comment