

In my previous blog post, I detailed the installation process of Nutanix CE, including AHV and Prism Element. Now, I’m gearing up for the next step: migrating a workload from my vSphere environment to the Nutanix setup. Nutanix simplifies workload migration across hypervisor platforms with its tool, ‘Nutanix Move’. This tool streamlines the process, making it effortless and seamless. You can find comprehensive documentation on Nutanix Move at this link – https://portal.nutanix.com/page/documents/solutions/details?targetId=TN-2072-AHV-Migration:nutanix-move.html
Nutanix Move is a VM appliance that, typically hosted on the target AHV cluster. Several software services come together to build Nutanix Move, but we can group them into the following major software components:
– The management server
– Agents for source and target
– Disk readers and writers
Nutanix Move architecture for ESXi

My plan is to demonstrate a live migration of a Windows 10 machine running in my vSphere ESXi environment to my Nutanix 1-node cluster using Nutanix Move VM.
So, let’s get started!
Download Nutanix Move
The Nutanix Move VM can be downloaded from here – https://portal.nutanix.com/page/downloads?product=move
We will need the Move for ESXi. Let’s download the OVA file.

Deploying Move VM
The downloaded VM is packaged into an OVA file. So, we will deploy this template to create the Move VM.
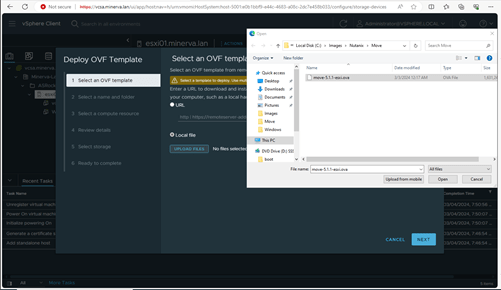
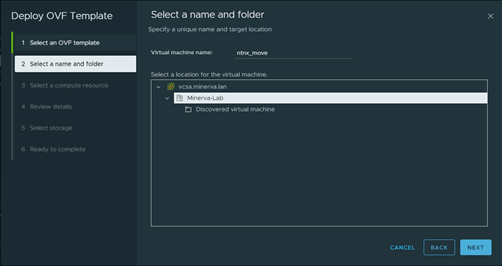
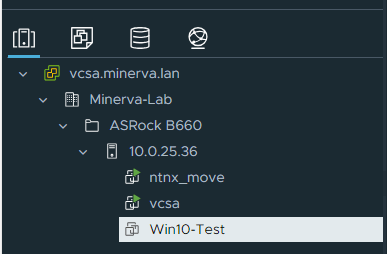
I am naming this VM ‘ntnx_move’ and I will put it under my homelab group and ESXi01.
Let’s choose the desired folder under which I want this new VM to be spun up and hit ‘Next’.
Let’s choose the target host and hit ‘Next’.

Let’s review the details.

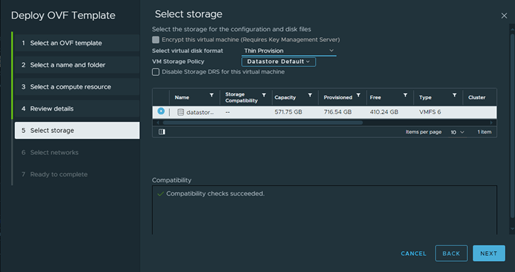
I am going to select the datastore for the host and thin-provisioning. Hit ‘Next’.
I will be selecting my LAN network ‘VM Network’ as destination. IP allocation need to be static for Move VM (don’t worry, we will set these at the time of first boot).

Reay to complete. Let’s hit ‘Finish’.

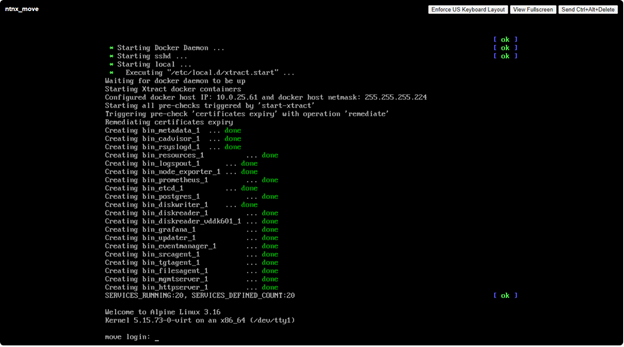
You should be able to see the OVA deployment process kicking off.

Once deployed, let’s fire up the VM and open up a console session.
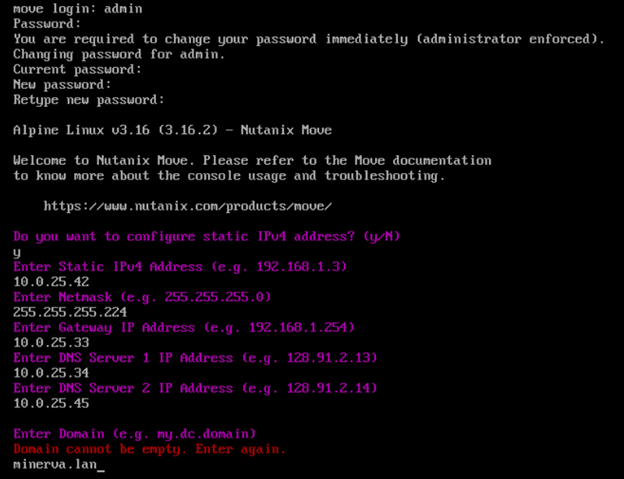
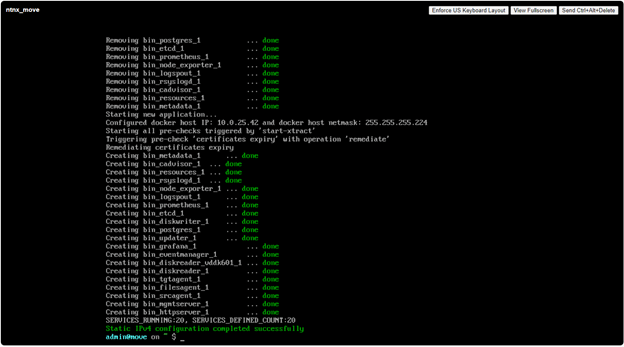
Let’s login to the VM using default credentials (Username – admin; Password – nutanix/4u). It will ask you to set a new password, static IPv4 settings and domain. Let’s set it.
Now, let’s open up a browser tab and type the IP that we set for the Move VM.
In my case, http://10.0.25.42. Let’s agree to the terms and conditions and it ‘Continue’.

Let’s set the new password.
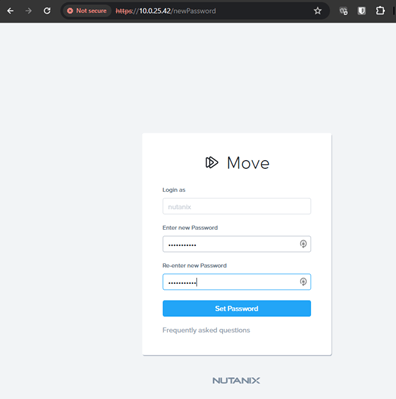
Once set, the prompt will ask us to login with the newly-set password.

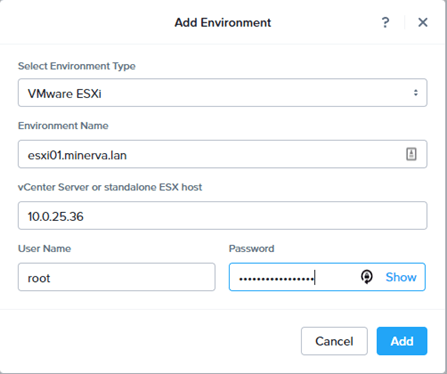
Once logged in, the prompt will ask about the type of environment that we would like to migrate. In this case, I would like to migrate a VM for demo purposes.

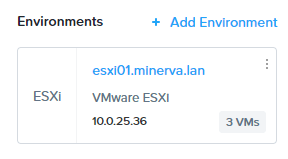
Let’s click on ‘Add Environment’ and select VMWare ESXi and its root credentials as that will be our source environment. Once entered, hit ‘Add’.
This will probe the ESXi host and will get the list of VMs running in the host.
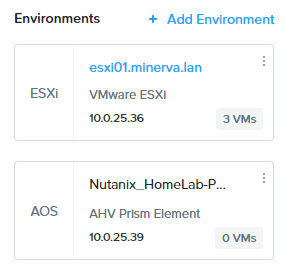
Now, let’s repeat the process to add our target environment i.e. our Nutanix Prism.

Once added, we should be able to see both of our environments on the left pane.
We are all set to start out migration!
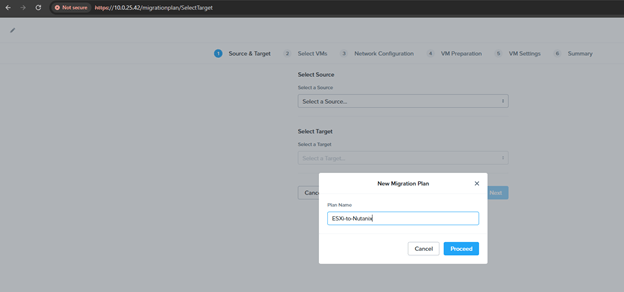
To setup a plan, let’s click on ‘Create a Migration plan’ and supply a name to the plan and hit ‘Proceed’.
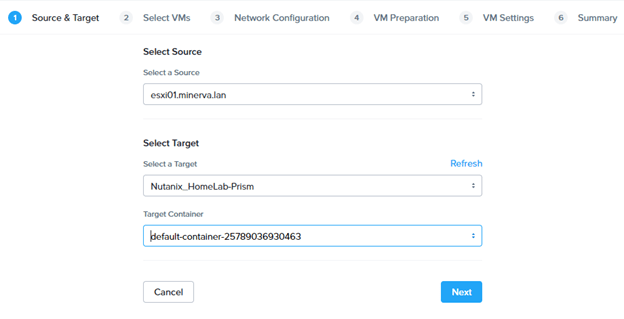
Let’s select the source (esxi01) and target (Nutanix_HomeLab-Prism). For target container, let’s select the default container. Hit ‘Next’.
The next page will present the list of VMs that’s currently running in our source (esxi01).

Let’s select our source VM – Win10-Test and hit ‘Next’.

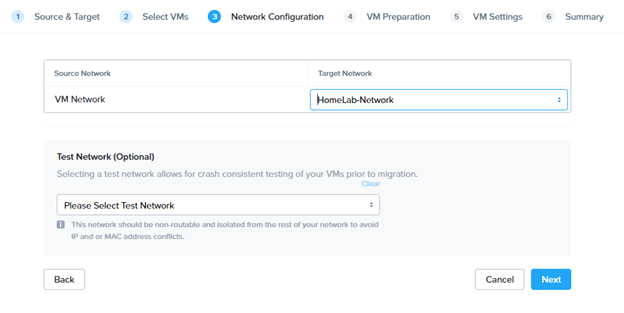
Let’s select the network for the target i.e. HomeLab-Network and hit ‘Next’.
The system will then check the capacity and other important required parameters of the target cluster.

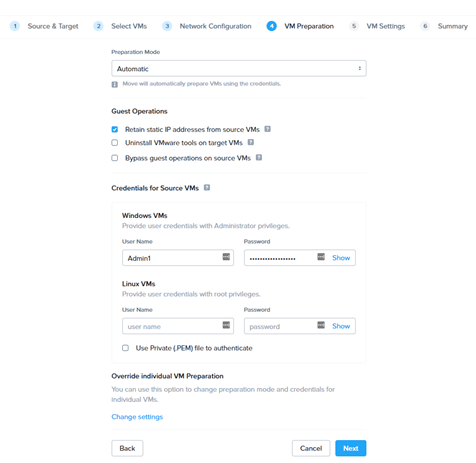
In the next page, let’s enter the admin credentials of the VM (Win10-Test) and hit ‘Next’.
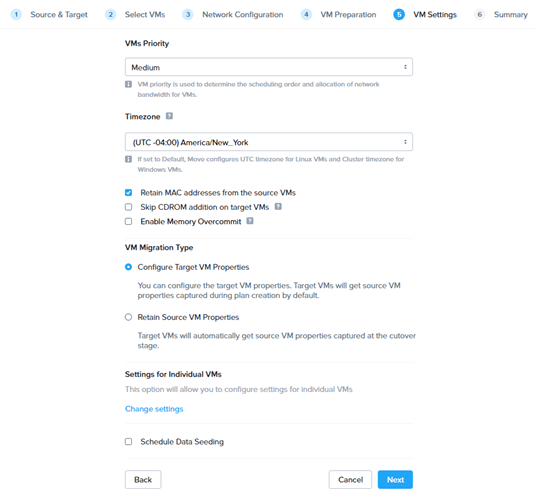
Let’s select the local timezone. Rest of the parameters can remain as default and hit ‘Next.
It will then validate the supplied credentials and will present with the summary page.


The migration will go through a total of 9 stages to complete this migration –
- Prepare source VM
- Prepare target cluster
- Data seeding
- Cutover
- Quiesce source VM
- Configure target VM
- Source VM cleanup
- Target cluster cleanup
- Migration completion
After some time, we should be able to see the status change to ‘Ready to cutover’

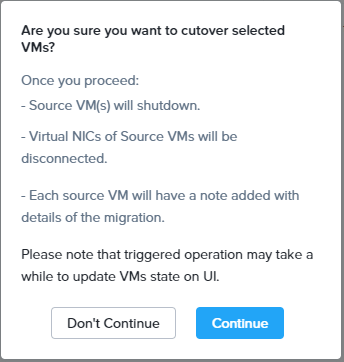
Let’s click on the box next to the VM and hit ‘Cutover’ and hit ‘Continue’.
This will kick-off the migration. The process will take a few minutes and once completed, the status will change to ‘Completed’.

Let’s check the source VM status in our vSphere environment and sure enough, the Win10-Test VM is turned off.
The VM is in powered-on state in Nutanix cluster.

Let’s verify the VM at target to verify the vital stats. Hit ‘Launch Console’ and try and login to the Win10-Test VM using the same admin credentials.
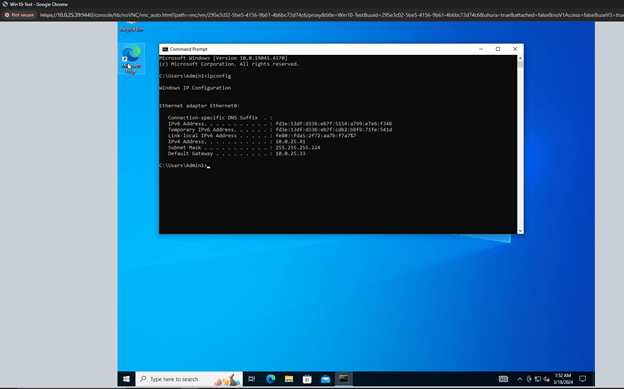
Voila! And it retained its IP Address and rest of the settings as well.
I trust that this post has been informative and enlightening, and I’m confident it will assist fellow enthusiasts in seamlessly migrating workloads from vSphere to Nutanix.

Leave a comment