

What transpired so far
We are witnessing huge significant shifts in the virtualization arena since Broadcom completed the acquisition of VMWare in November 2023.
I was a bit hopeful this time that Broadcom will probably tread carefully that what it did to Symantec and CA Technologies as this time it’s about VMWare, the biggest player in the virtualization arena with market share of 44.83%. But I was proved wrong.
Initially, VMware has been gradually squeezing small and medium partners who serve SMB clientele, mandating recertification and imposing minimum sales requirements. Following this, they’ve discontinued perpetual licensing in favor of subscription-based models. However, what many perceive as the final blow – and I tend to agree – is the cessation of free ESXi availability. This decision is poised to ripple through the workforce, as the accessibility of the free version has historically facilitated the entry of new talent into the field, ultimately driving more sales and revenue for VMware.
Exploring Nutanix
Faced with these recent developments, I found myself compelled to reassess my homelab strategy and explore alternative options. This post delves into my experience with Nutanix’s hypervisor, Acropolis. Despite Nutanix’s tenure of 14 years in the market, it’s clear that VMware’s dominance has often eclipsed awareness of Nutanix’s offerings and capabilities.
Nutanix suite contains the following pieces –
– Acropolis
– Prism
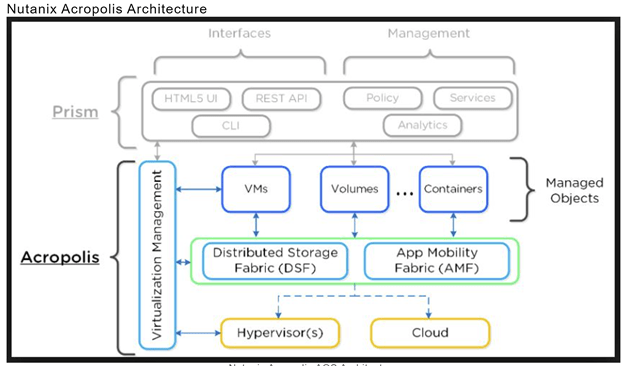
Nutanix Acropolis, also known as Acropolis Operating System (AOS), is the operating system. It operates atop various supported hypervisors, including Nutanix’s native Acropolis Hypervisor (AHV), as well as other vendors’ hypervisors like VMware vSphere ESXi and Microsoft Hyper-V. This setup enables the creation of Nutanix Acropolis clusters, allowing for the centralized control and virtualization of node storage through mechanisms such as Directpath I/O PCI pass-through.
Within the Nutanix ecosystem, Acropolis functions as a Controller Virtual Machine (CVM) atop the supported hypervisor, overseeing all aspects of management within the Nutanix cluster.
The capabilities of Nutanix Acropolis are founded on three key components: the Distributed Storage Fabric (DSF), the App Mobility Fabric (AMF), and the AHV Hypervisor.
Prism, Nutanix’s management interface, simplifies infrastructure management with its one-click approach, catering to virtual environments powered by Acropolis.
Preparation
I will be installing Nutanix CE Edition in VMWare Workstation 17 Pro. Community Edition allows you to install single-node, three-node, and four-node clusters.
Depending on your available hardware, Nutanix recommends a three-node cluster to exercise the features of Community Edition effectively. My plan is to install a 1-node cluster for now in my homelab.
The requirements for Nutanix CE can be found here – https://portal.nutanix.com/page/documents/details?targetId=Nutanix-Community-Edition-Getting-Started:top-sysreqs-ce-r.html
– 20GB memory minimum (32GB if deduplication and compression are used).
– 4 Cores (minimum)
– 64GB Boot disk (minimum)
– 200GB Hot Tier disk (minimum)
– 500GB Cold Tier disk (minimum)
IP Schema
Node 1 –
– AHV IP Address – 10.0.25.38/27
– CVM IP Address – 10.0.25.39/27
– Cluster Virtual IP Address – 10.0.25.40/27
Note – These IP addresses corresponds to my Local Area Network (LAN). Please use IPs and subnets that corresponds to your respective network/LAN.
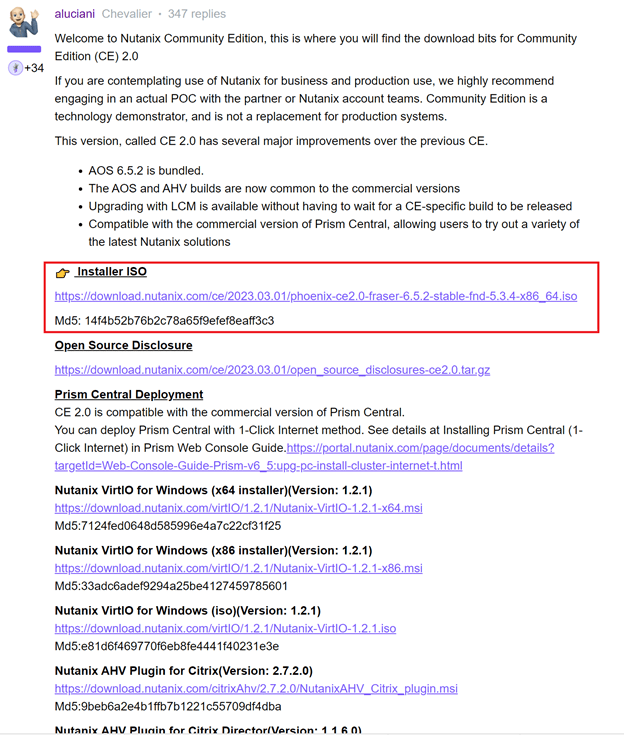
Downloading software
Let’s download the latest Nutanix CE Installer by registering to Nutanix’s Community Edition page –
https://www.nutanix.com/products/community-edition/register
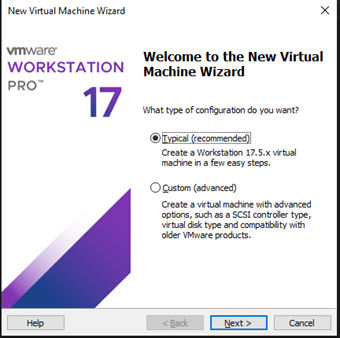
Spin-up
Let’s create the VM with ‘Typical’ and hit ‘Next.
In the next step, let’s browse to where I have the CE ISO file stored and hit ‘Next’.

We will select ‘Linux’ as the guest operating system and version as ‘CentOS 7 64-bit’ and hit ‘Next’.

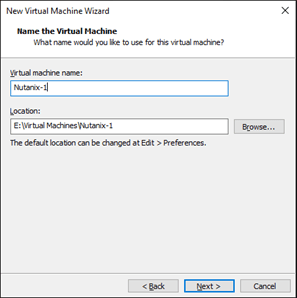
Let’s put a virtual machine name of our choice. I will use ‘Nutanix-1’ here. Let’s hit ‘Next’.
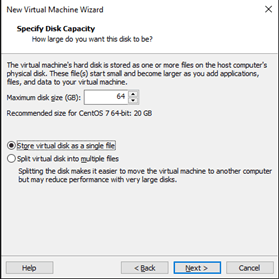
In the next step, we will be allotting the boot disk size. As I mentioned before, I will be allotting 64GB for the boot disk.
Let’s select ‘Store virtual disk as a single file’ and hit ‘Next’.
It will show the summary of my choices before deploying the VM. Let’s hit ‘Finish’.
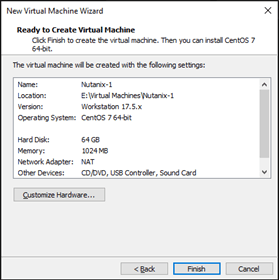
The VM is created.
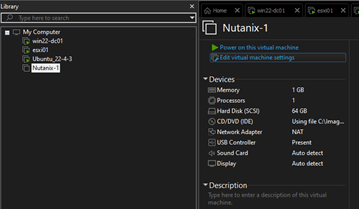
Let’s edit the VM settings to assign additional disks and required RAM.
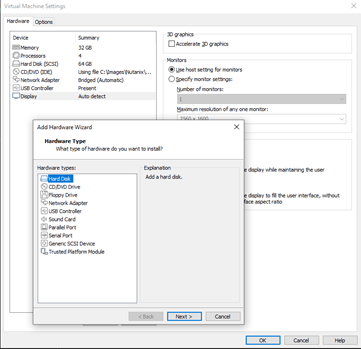

These additional disks will be ‘SCSI’. Let’s hit ‘Next’.
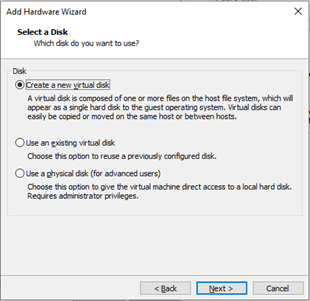
Let’s click on ‘Create a new virtual disk’ and hit ‘Next’.
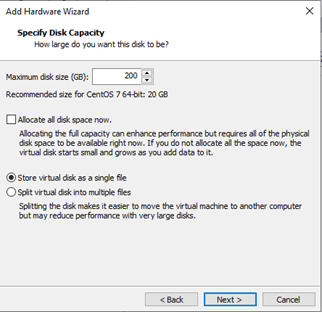
Let’s set this additional disk space to 200GB. Let’s select ‘Store virtual disk as a single file’ and hit ‘Next.
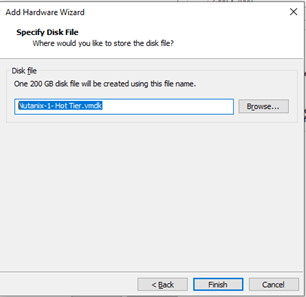
Let’s rename the vmdk file to ‘Nutanix-1- Hot Tier.vmdk’ and hit ‘Finish’.
Let’s follow the same process to allocate a disk for cold tier as well.

For us to be able to see the UUIDs of the disks, we need to enable UUID in the VM’s .vmx file.

Let’s save the file and fire up the VM.
This kicks off the CE Installer.
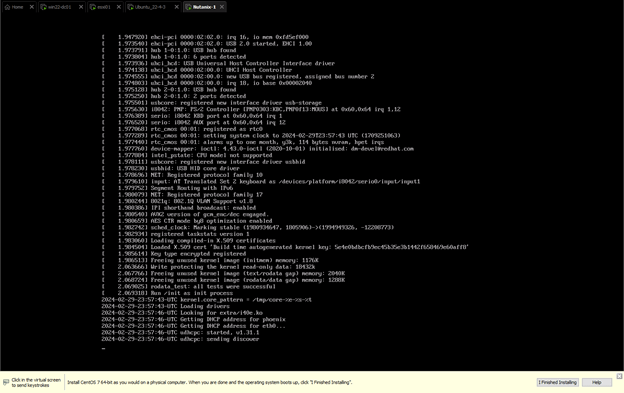
Our UUIDs are showing as expected.
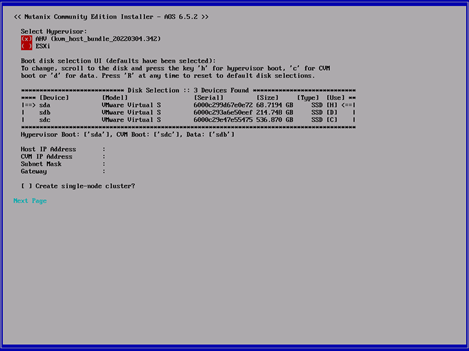
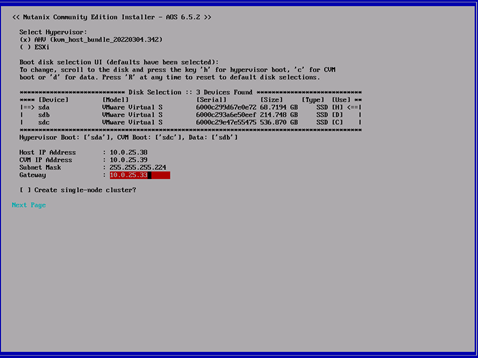
Let’s fill in the details per our environment and hit ‘Next Page’.
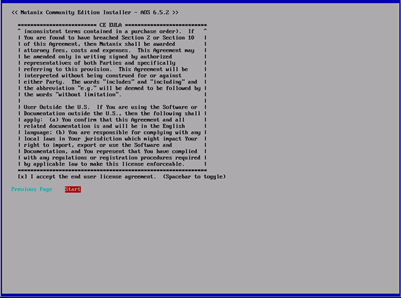
Accept EULA and hit ‘Start’.
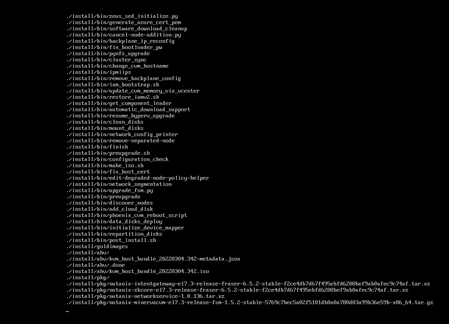
This will initiate the ISO installation process.
Time to unmount the virtual media and reboot the VM.

Let’s use the default credentials (Username – root; Password – nutanix/4u) to login to the CVM.
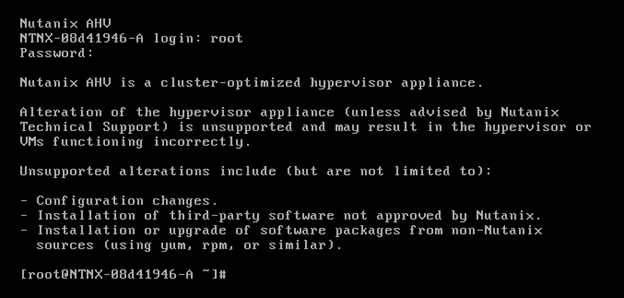
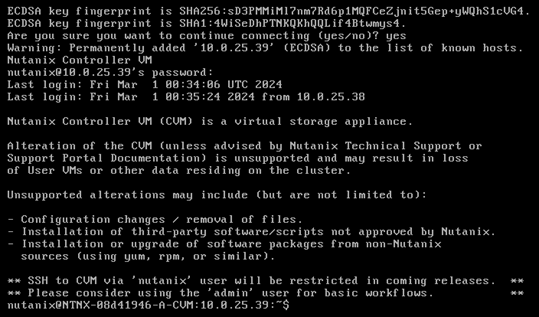
When the node is fully booted, login to the console with the default credentials root nutanix/4u and ssh into the cvm running on the node: ssh nutanix@<cvm_ip>
the default password is nutanix/4u
When you are in the cvm run: watch -d genesis status

If genesis is running (there are pids behind the service name) you can continue to create the cluster. (Press CTRL+C to quit watch).
“Genesis” refers to the initial node or host in a Nutanix cluster. The Genesis node plays a critical role during the initial setup and configuration of the Nutanix cluster. It serves as the foundation upon which additional nodes are added to form a fully functional Nutanix cluster. It is the first node deployed in a Nutanix cluster and hosts the initial Cluster Virtual Machine (CVM). It also hosts the configuration database a.k.a. Prism Element Database (PCDB).
Cluster Creation
For a single node cluster the command is:
cluster -s <cvm_ip> –redundancy_factor=1 –cluster_external_ip=<cluster_virtual_ip> create
So, our configuration will be
cluster -s 10.0.25.39 –redundancy_factor=1 –cluster_external_ip=10.0.25.40 create
This will take some time for the system to build the cluster and to start all the associated servicers on the CVM(s).
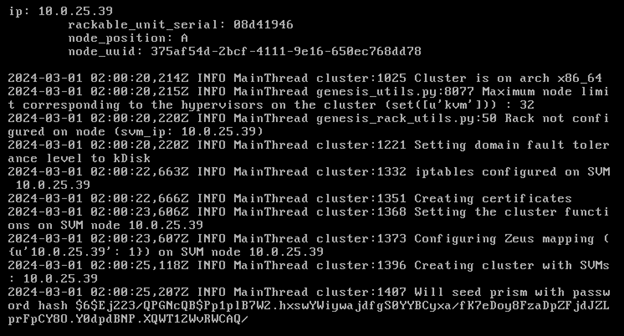
Services are starting.

Let’s try to access the Prism webpage and voila!
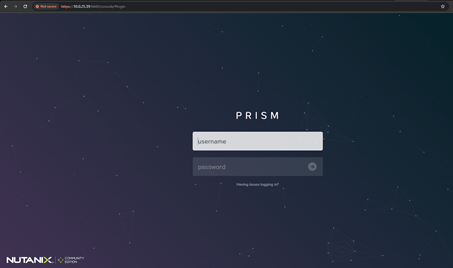
Default login credentials are –
Username – admin
Password – nutanix/4u
Once we login with default credentials, it will ask to set a new password for the Prism Element instance.

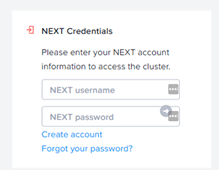
Once that’s set, it will ask you to login to NEXT credentials. Let’s do that.

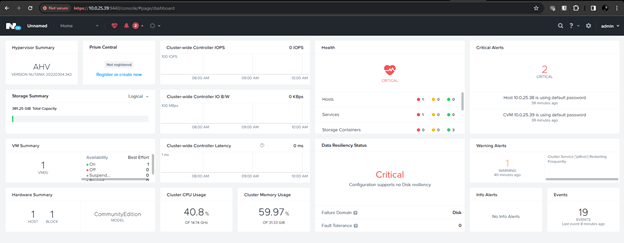
And, there you go, landed right into our Prism Element GUI landing page.
Clean-up
As you can see, there are some critical alerts. Let’s tackle them one-by-one.
Changing host’s default password
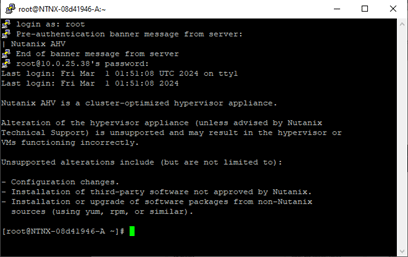
Login to the host using default credentials.
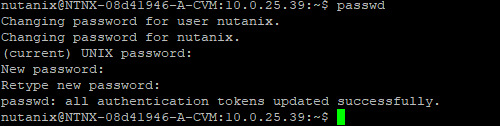
The command ‘passwd’ will prompt us to enter the new password to change it.

Make sure to verify access through the newly set password before closing the previous SSH session.
Changing CVM’s default password
Let’s login to CVM through SSH using default credentials and follow the same process to change its default password.
Setting NTP Server for Prism Element
Navigate to Settings>NTP Servers and enter the desired NTP servers.

Let’s verify if Prism Element is synchronizing time with the newly-set public NTP servers. You can do this by checking the time settings in the Prism Element interface or by logging in to the Controller Virtual Machines (CVMs) and using the ntpstat or ntpq -p command to check the NTP synchronization status.
There you go.


Now that my Nutanix cluster is set, I can now look at other features and possibilities that Nutanix offers.
Please follow my future posts to see how I navigate through them.

Leave a comment