

The first step for this build is making a bootable drive (in our case, the drive is the SSD from my earlier post).
Download the Raspberry Pi Imager from the official Raspberry Pi website – https://www.raspberrypi.com/software/ and click on the downloaded executable file.
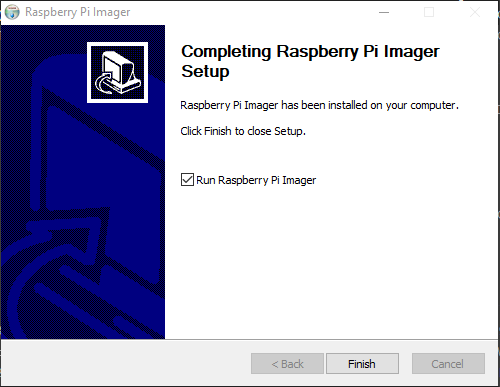
This will fire up the installer. Once completed, click on the ‘Finish’ button to fire up the imager.
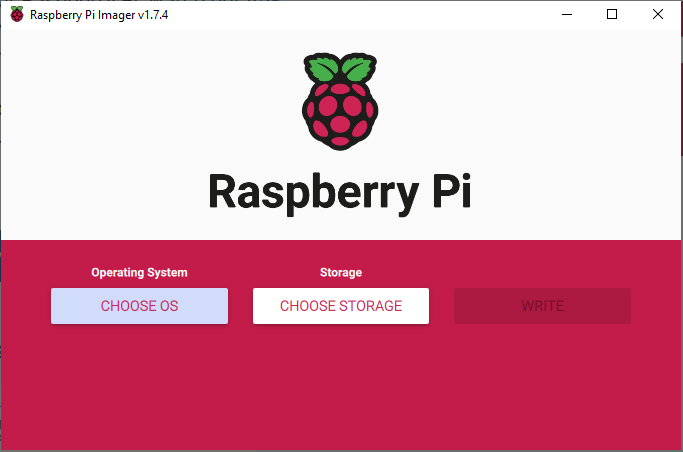
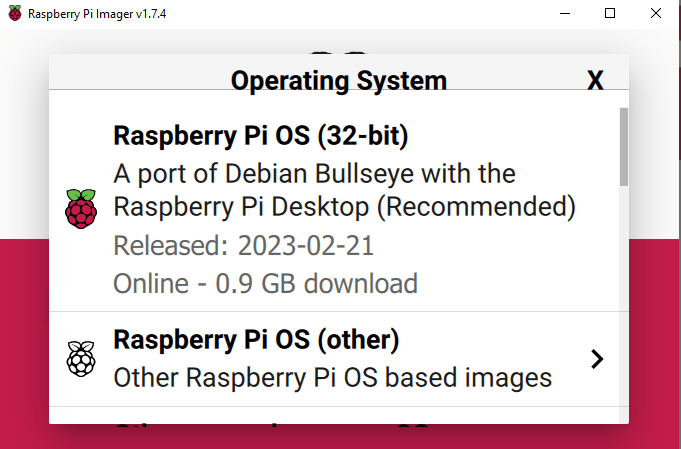
Now, click on the ‘Choose OS’ button and choose the right OS.
Since this build is for a server, we should be fine with a 32-bit version.
Now, choose the storage drive. Make sure to select the correct drive during this step as selecting the wrong drive will format the selected drive and erase all data off.
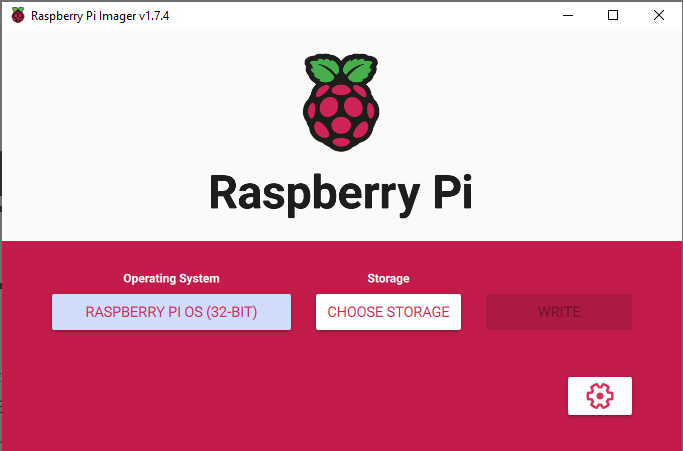
Once the correct drive is selected, press the gear icon to hard-set some basic settings.
- Click on ‘Disable overscan’ box.
- Click on ‘Set hostname’ box and set a name of your choice. This will be the hostname of the Raspberry Pi.
- Click on ‘Enable SSH’ box and set a secure a strong password for your Raspberry Pi. ‘Write’.
- Click on ‘Configure wifi’ if your Raspberry Pi will be connected to Wi-Fi and enter the SSID and PSK for the chosen SSID.
- Click on ‘Set locale settings and then set your local TZ and keyboard layout.
- Select ‘Skip first-run wizard’.
- Select ‘Eject media when finished’
- SAVE
Now, connect the external drive and choose the storage drive. Make sure to select the correct drive during this step as selecting the wrong drive will format the selected drive and erase all data off.
Once everything is verified, click ‘Write’. This will fire off the write process.
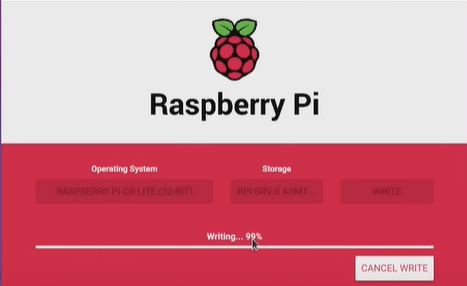
Once, completed, our bootable drive is ready to be plugged into our Pi.

Leave a comment